
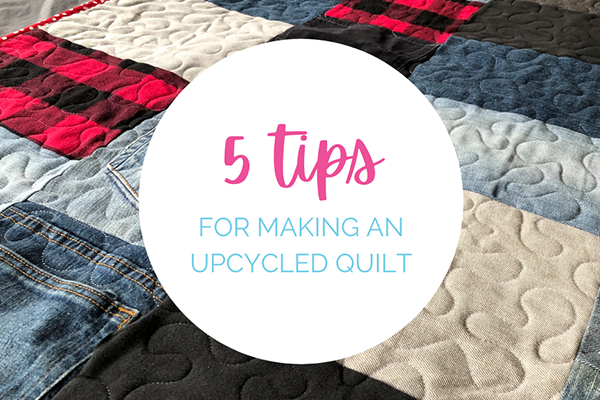
5 Tips for Making an Upcycled Quilt
As a former 90s girl, I still love flannel shirts. (Ahem. They were called "flannels" back in the day.) Flannels are the perfect casual layer to throw over any outfit, and they're so cozy with just a touch of punk.
One of the hobbies I picked up during lockdown was refining my closet and creating a capsule wardrobe. After deciding on color, fiber content and silhouette, flannel shirts definitely made the cut.
As I learned about capsule wardrobes, I also learned about clothing's environmental impact.
The True Cost of Clothing
In the 90s, I had no idea how many resources are used to make a single flannel shirt.
Water to grow the cotton, CO2 released by weaving the fibers into fabric, more water to dye the fabric, more CO2 to sew and ship the garment, and even more CO2 when it breaks down in a landfill.
This awareness is what inspired me to make quilts from second-hand clothing. If cutting fabrics apart and sewing them back together again (a quilter's specialty!) can give more life to some of these environmentally expensive fibers, I'm more than happy to do it.

How to Make an Upcycled Quilt
After sharing the quilts my sons and I made, many of you reached out saying you were inspired to start upcycling fabrics into quilts, too. Some of you asked my advice, so here are my top 5 tips for making your own upcycled quilts.
1. Choose Coordinating Fabrics

For a quilter, this may seem like obvious advice. But many of us have made memory quilts for ourselves or family members. Some of these special fabrics don't necessarily coordinate with each other, but they need to be included for sentimental reasons.
However, an upcycled quilt doesn't have to include that one t-shirt in a random color, or a pattern that you don't love. Feel free to choose fabrics and garments that look beautiful together, and save the unmatched pieces for a different quilt.
2. Cut Off the Unruly Parts

Start by cutting the garments into flat pieces of fabric. Cut off sleeves, collars, tags, zippers and anything else you don't want to include in your quilt. Cut the side seams to separate the front from the back.
3. Stabilize and Straighten the Edges

If any of the fabrics are thin, fraying, or more stretchy than you're comfortable working with, fuse a non-woven stabilizer to the back of the fabric.
Then, with a rotary cutter and ruler, cut the sides of the pieces straight and square. Cut as wide of widths as you can. You can always trim down later.
Next, cut the top edge as high as you can, and the bottom edge as low as you can. Use your ruler to make sure all the corners are 90 degrees.
4. Measure and Group by Width

Most quilts are made by sewing together blocks into horizontal rows. But for upcycled quilts, I like to sew vertical columns instead. This gives me more flexibility to use as much of the garment's length as possible.
Measure the widths of your pieces and sort them into groups of similar widths. These groups will be your columns.
5. Lay Out and Assemble

You can sketch on graph paper, write down lists of measurements, or lay the pieces out on an open space of floor. Whichever method works best for you to divide and organize the pieces.
Once you know your layout, trim the widths in each column to match, sew the pieces into columns, and then trim the columns to the same length.
Add sashing between the columns if you want to separate them, add a border if you want, and your upcycled quilt is all set for quilting.

Will you try these tips? What's your favorite advice for sewing quilts from clothing? Leave a comment and let me know!
2 comments